I know what you’re thinking. Why would you want to make nut milk when there’s this super cool appliance called the Almond Cow, which makes beautifully smooth nut milk with the press of a button.
Unfortunately, the good nut milk makers are quite pricey and this original recipe does the job just as well. I made all my nut milks for the last eight years with the recipe below. But I have to admit that a lovely client gifted me the Almond Cow. Would I have invested in it myself? One hundred percent.
If you’re anything like me and truly dislike the taste of store-bought nut milks, then I promise you that making it yourself is so much yummier and so easy and more affordable. I especially love that I’m not buying plastic or cartons every week and adding more to the not-really-getting-recycled pile on the planet.
INGREDIENTS
- 1 cup raw almonds (or any nut or seed you prefer)
- 4 cups filtered water
METHOD
- Soak the nuts in filtered water (see soaking times below).
- Drain and rinse.
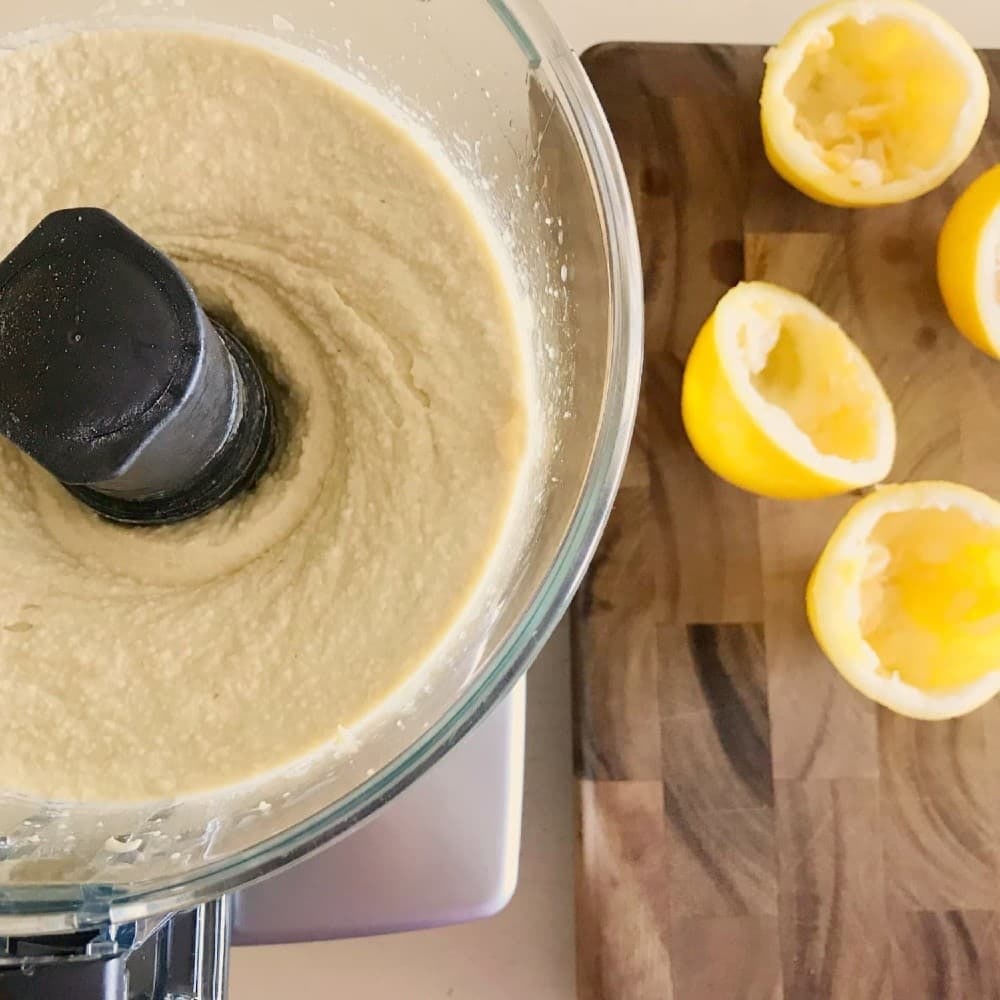
- Add nuts + water to blender.
- Blend well for 1 – 2 minutes.
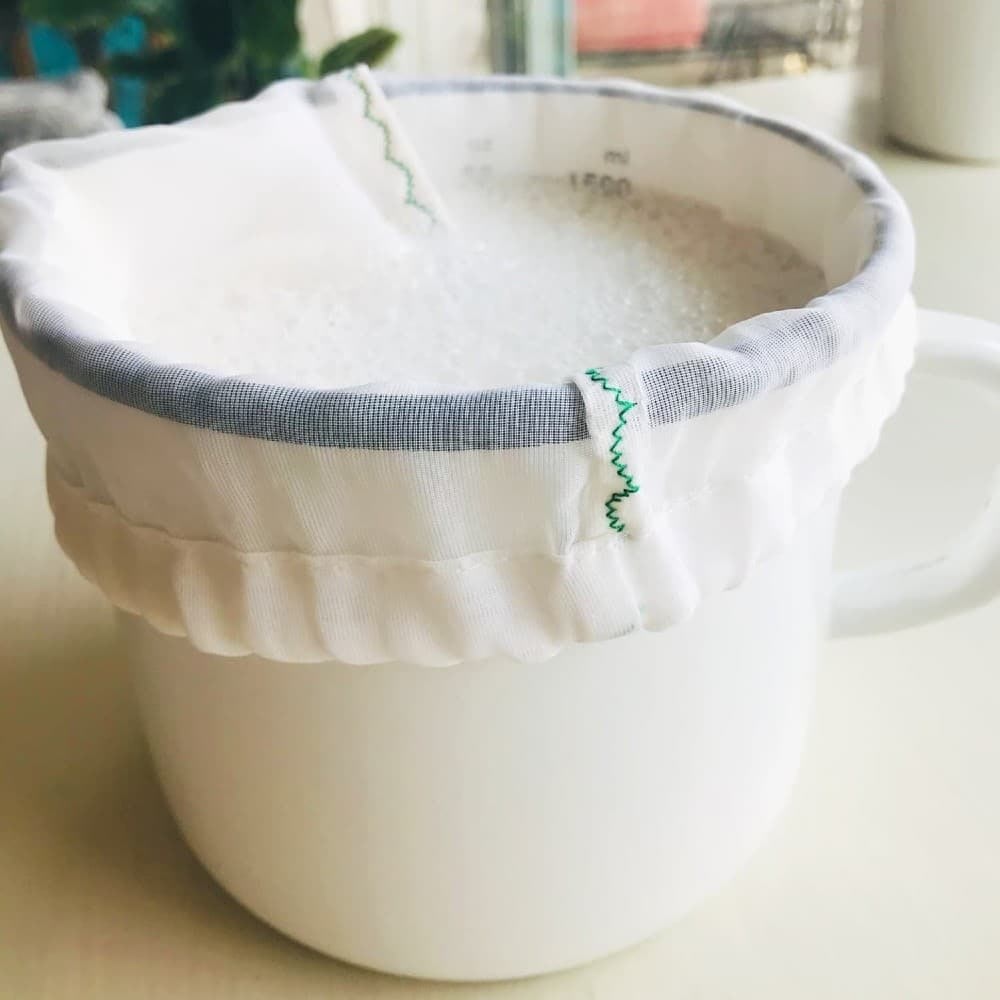
- Place a nut milk bag over a bowl.
- Pour blended liquid into the bag.
- Lift up the bag and squeeze out the “milk.”
- You’ll have only dry pulp left in the bag.
- Store in a glass container in the fridge (lasts 3 – 4 days).
Soaking times for nuts and seeds
- almonds = 8 hours (overnight is easy)
- any seeds (pumpkin etc) = 2 hours or not at all
- macadamia, cashews, pistachios = do not need to soak
Helpful tips for making healthy nut milk
(1) Buy raw organic unpasteurized nuts
You can find these at most farmers markets or possibly at some health food stores. Store nuts in a freezer bag or glass jar in the fridge because this prevents their natural oils from oxidizing. Buying bulk is easy, budget friendly, and almost zero waste.
(2) You can use the pulp elsewhere
If you don’t want to waste the pulp by dumping it in compost, you can spread it out on parchment paper on a baking sheet and dry it in the oven on the lowest heat setting (~200 F) for a couple hours. When it’s completely dry and cool, blend it into a flour and store this in the freezer and use for baking.